
How to Make Creamy Moisturizing Hand Cream at Home
Hellow, my dear readers, I'm here with another DIY skincare. I'm creating a creamy moisturizing hand cream at home. This hand cream will be good especially during the winter season because hands tend to get very dry due to cold. A very rich, creamy-textured and occlusive hand cream which won't feel heavy on your skin. Let's get started!
DIY SKINCARE
Making a homemade hand cream can be very daunting especially if you are a beginner in the DIY skincare game. Making a hand cream can be a past time during the holiday or part of self-care. If you have a very sensitive skin to lots of ingredients found in store-found lotions then this can be a good alternative. I just want to clear things out and let you know the difference between hand lotions and hand creams before delving into this recipe!
Hand lotions are usually light-weight and fast-absorbing than hand creams. Hand lotions are good if you don't want a residual feel after applying a skincare product. Meanwhile hand creams are best suited for cold weather because of their occlusive properties to reduce dermal water escaping from the skin and leaving it dry. Well formulated hand creams can be very moisturizing and hydrating.
SELECTING INGREDIENTS
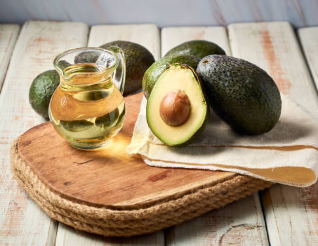
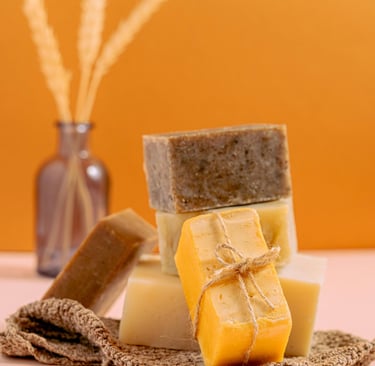
Avocado oil: It has a rich green color with avocado-fruit aroma with high fatty acids and vitamins content. It is soothing for the skin and good for various skin conditions such as eczema or psoriasis. It is good oil for all skin types though mature, dry and sensitive types can benefit more. Once opened, store in refrigerator.

Shea butter: It is pale yellow in color. A velvety soft textured butter with a nutty aroma. It has high content of triglycerides which is good for dry, mature, sensitive and normal skin. It can help to protect and soothe the skin. It is also good for reducing appearance of stretch marks.
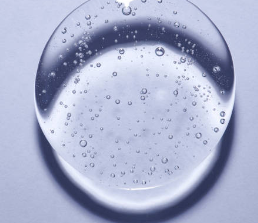
Vegetable glycerin: It is a very good ingredient to include in your recipe because of its moisturizing properties and increase hydration to the skin but also help in mixing of oil and water process for them to bind together to form an emulsion.

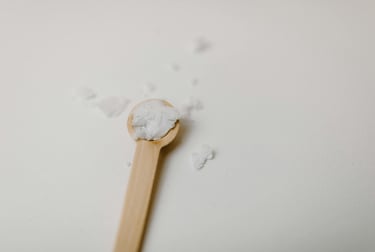
Stearic acid: These are white color fatty acid in form of powder or flakes derived from plants. So, this a safe choice for vegans and all natural skincare girlies out there! I'll be using this substance as an emulsifier in this hand cream. You know for oil and water ingredients we need a binder and that's when stearic acid comes to play.


Emulsifying wax: Find a emulsifying wax that is natural and plant-based. It is usually pretty affordable and easily found in both online stores and convenient stores. Mostly is white with no detectable scent and melting point of between 149-155 Fahrenheit.

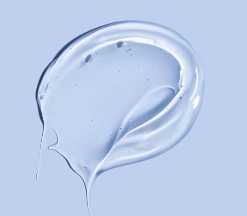
Aloe vera gel: You can easily buy this online or convenient store. If you have an aloe vera plant then you can scoop the gel right from the plant. Just cut the aloe vera leaf and scoop it. Aloe vera gel is filled with anti-oxidants which can benefit the skin.

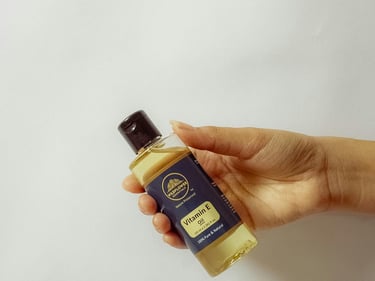
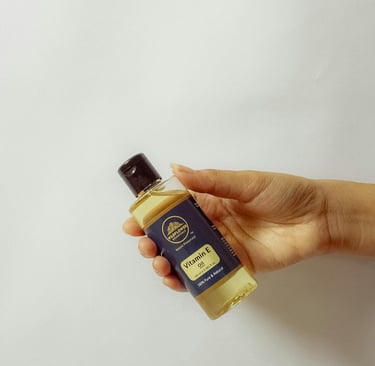
Vitamin E oil: This oil in its purest form has a heavy consistency. It has anti-oxidant properties that can fight off free radicals and in turn reduce oxidative stress caused by pollution and other harsh elements. It also a good preservative.
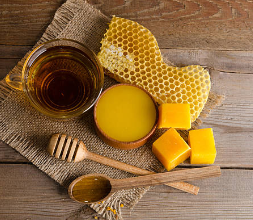
Beeswax: These are white or yellowish color, fats derived from bees honeycomb. But also you can use soy wax flakes, this is a safe choice for vegans and all natural skincare girlies out there! I'll be using beeswax in this hand cream recipe. Just remember to grate the beeswax before using it.

Ingredients
2 1/2 two and a half teaspoons of avocado oil
2 1/2 two and a half teaspoons of shea butter
a quarter of teaspoon of vegetable glycerin
1 teaspoon of beeswax or soy wax
3/4 three-quarters of teaspoon of stearic acid
2 1/4 heaping teaspoons of emulsifying wax
one-third (1/3) cup of aloe vera gel
a half teaspoon of Vitamin E oil
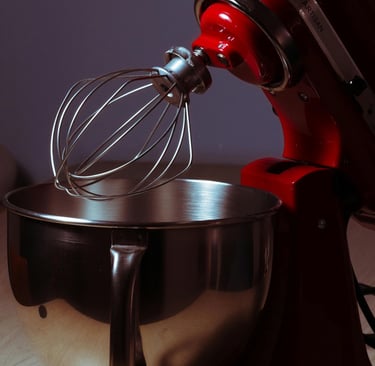
Gather your tools and supplies such as a mixing bowl, hand-held mixer, kitchen thermometer, a wooden spoon, measuring cups and a saucepan.
Instructions
Gather your ingredients: avocado oil, shea butter, vegetable glycerin, beeswax, stearic acid and emulsifying wax and place them at your kitchen top.
Start by measuring the above ingredients and put then into a glass measuring cup and sit this in a saucepan containing a few inches of simmering water.
Try to stir regularly, make sure your ingredients are completely melted. Check the temperature by using kitchen thermometer, dip it in the melted mixture and look if it reaches 160-180 Fahrenheit.
Now measure your aloe vera gel in another glass measuring cup and sit this in a saucepan of simmering water and heat it to temperature of 160-180 Fahrenheit.
Now take out your first measuring cup from the simmering water, the measuring cup that you had put oily ingredients in, the 2 and 3 step.
Then, pour the oily ingredients into the glass mixing bowl and mix it with your hand-held mixer till satiny and creamy.
You can now take out the measuring cup of aloe vera gel from the simmering water, and pour it into the mixture in the mixing bowl, continue mixing for other more 5 minutes. Make sure that all these ingredients are completely combined.
Wait the mixture to cool to 98 to 100 Fahrenheit. At this stage you can add vitamin E oil to the mixture.
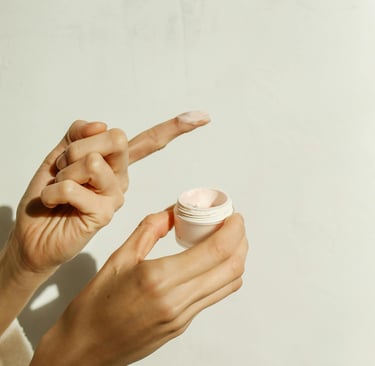
Pour your mixture in a well sanitized container and store it in a cool and dry place.
QUICK TIP: Find a cute, nice glass jar that you can use for storing the hand cream, a jar of 4or 5 Oz. This hand cream should be used within six months.

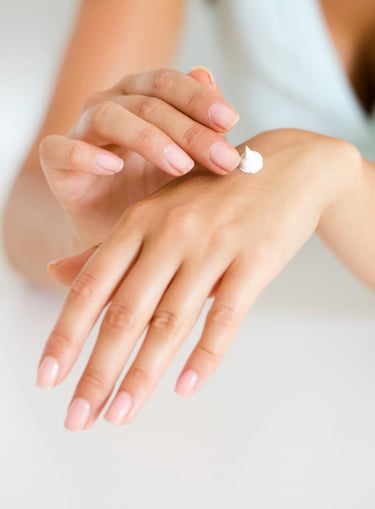
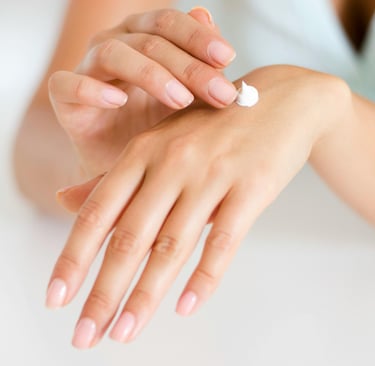
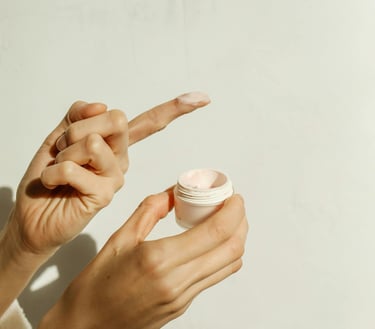
HOW TO USE A HAND CREAM
After making your hand cream and put it in a jar or sanitized container of your choice. You can make your hands soft and supple after exposing your hands to gruesome work and constantly deal with harsh elements. Apply your hand cream after washing your hands and patting them dry. Re-apply to keep dry and flaky hand skin at bay.
About me
Hello, my dear gorgeous! Welcome to my blog and learn with me as you walk in your skincare journey. I'm skincare enthusiast and a student. I like sharing my passion of beauty and skincare with the world. I like blogging, reading and binge watching YouTube vlogs and Netflix during my leisure time.

