
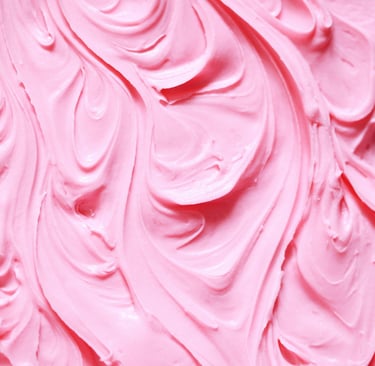
Homemade Blue and Pink Colored Lotion Bars
When it comes to lotion bars you can always re-invent a new recipe a gazillion times! A little tweak and twist here and there and imagination can help you to make from candy-scented lotion bars to rainbow🌈 colored lotion bars to intricate patterned ones, you need spare time, spare change and lots of imagination! Now with no further ado let's make homemade blue and pink colored lotion bars.
DIY SKINCARE

Ingredients
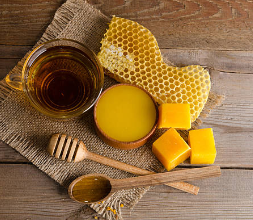
5 tablespoons of beeswax
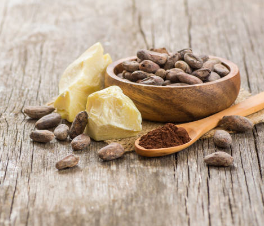
3 tablespoons of cocoa butter
3 tablespoons of mango butter
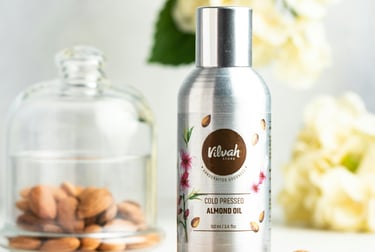
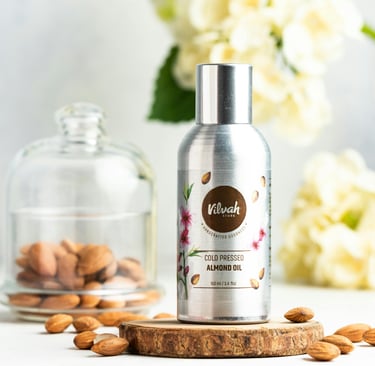
5 tablespoons of sweet almond oil
15 drops of blue liquid food coloring
15 drops of pink liquid food coloring
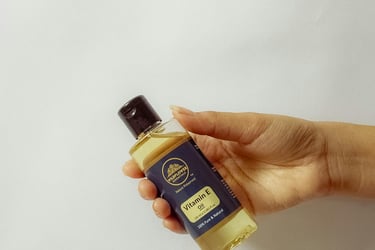
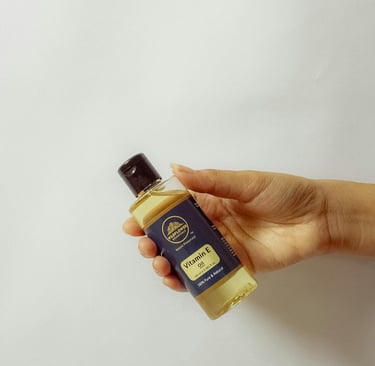
20 drops of vitamin E oil
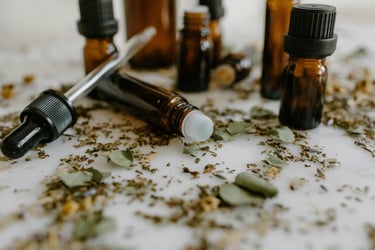
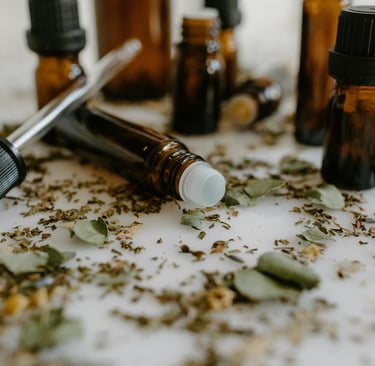
30 drops of lavender essential oil(optional)
You can use other food colorings of your choice other than pink and blue. When it comes to essential oils make your own essential blend or your favorite essential oils for the recipe. Don't exceed 120 drops of essential oils in your recipe.
If you can't find silicone molds, then make your own designated molds from finished products such as small sauce containers or yoghurt tubs and reuse them. Avoid plastic containers that can be damaged by hot wax mixture.
QUICK TIP: Spritz a little oil on your molds before pouring the hot mixture to avoid getting sticky when popping them out.
Selecting Ingredients
Beeswax: This is the ingredient that make the lotion bars solid. If you like making DIY skincare products, you might be having it already in your home. Beeswax has moisturizing properties that can soften the skin texture.

Cocoa butter: A chocolatey-scented butter with a yellow tint is known for containing essential fatty acids and anti-oxidants that can nourish the skin, reduce the stretch marks and improve the skin elasticity. Cocoa butter can make lotion bars greasy, reduce one tablespoon and replace it with shea butter instead if this happen.

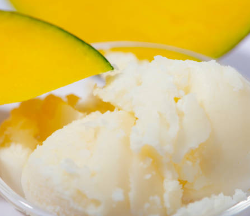

Mango butter: It is among of best natural butters that can be used in natural skincare. It is a favorite of cosmetic formulations. It has mango fruity aroma. It can make your skin moisturized, soft and smooth.
Sweet almond oil: Use this oil with a sweet nutty aroma. It is filled with essential fatty acids and anti-oxidants that can nourish your skin. This oil can be easily absorbed by the skin. If you don't have sweet almond oil then use coconut oil, olive oil, avocado oil or grapeseed oil. Find organic and unrefined oils for best products.
Lavender essential oil: Essential oil can make a boring recipe more better. Lavender has such sweet-smell that's why I like to add it in many of my recipes. Its calming and soothing properties help the skin health. Choose essential oils of your choice like neroli, rose, sweet orange and so on.
Vitamin E oil: It is a fat soluble vitamin and potent anti-oxidant. It can repair the skin but also fight free radicals caused by pollution, sun exposure or other harsh elements.
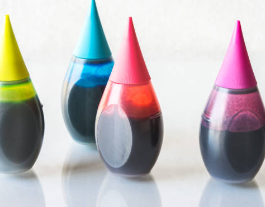
Natural food coloring: In this recipes you gonna use pink and blue food coloring. Use liquid food coloring for easier mixing, powder colorings can be hard to work with oil-based ingredients. Add fewer drops for lighter shades and more drops for darker shades of color. Don't feel constrained by these two colors, find your favorite colors that can complement your taste.

Ingredients
5 tablespoons of beeswax
3 tablespoons of cocoa butter
3 tablespoons of mango butter
5 tablespoons of sweet almond oil
15 drops of blue liquid food coloring
15 drops of pink liquid food coloring
20 drops of vitamin E oil
30 drops of lavender essential oil(optional)
You can use other food colorings of your choice other than pink and blue. When it comes to essential oils make your own essential blend or your favorite essential oils for the recipe. Don't exceed 120 drops of essential oils in your recipe.
If you can't find silicone molds, then make your own designated molds from finished products such as small sauce containers or yoghurt tubs and reuse them. Avoid plastic containers that can be damaged by hot wax mixture.
QUICK TIP: Spritz a little oil on your molds before pouring the hot mixture to avoid getting sticky when popping them out.
Instructions
Gather your ingredients and equipment such as saucepan, measuring spoons, glass measuring cups, kitchen thermometer, mixing bowl and molds. This is done to avoid misplacing tools and worse enough realizing that you don't have a certain ingredient in the middle of the process. Without further ado let's get started!
Start by adding beeswax and cocoa butter to a heat-resistant glass measuring cup and place it in simmering water bath, turn on the stove top until the ingredients are melted. If you have a double boiler, then its much better option
Next, add mango butter and sweet almond oil to your already melted mixture and let these ingredients melt completely in the glass measuring cup.
When your mixture is at 160 to 170 Fahrenheit temperature, it will have melted, remove from the heat and then add your essential oils while stirring the mixture. This step is optional, you can just skip it if you don't have essential oils.
Add Vitamin E oil and stir well till completely.
Divide your hot mixture in two batches in separate small heatproof bowls, add food coloring. One batch add pink natural food coloring and blue natural food coloring jn the other one.
Pour the blue batch and let it sit half way in each mold. Wait for it to cool completely.
At this moment the pink one would have start to harden, pre-heat it or sit the pink batch on a hot water bath so it won't harden on the first place.
Pour the pink batch over the blue ones in the molds. Do this layering for multiple times as desired.
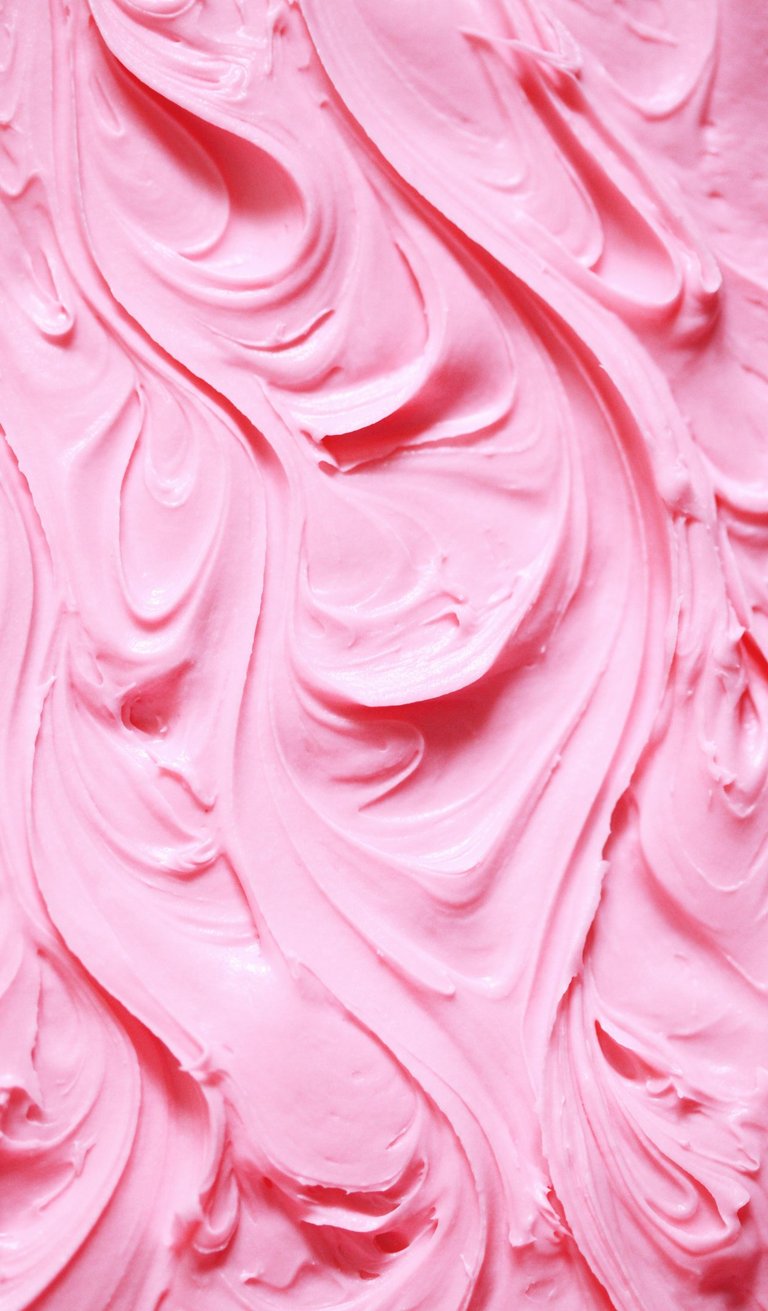
QUICK TIP: If you feel lazy then in each mold pour pink and blue batches at the same time then swirl the mixture with a toothpick. You are going to make a marble effect lotion bars.
Leave it to cool to room temperature. Let your lotion bars harden completely.
QUICK TIP: Once cooled you can put your lotion bars in a refrigerator for them to harden solid and make it easier for them to pop out of the molds without damaging them especially if your mold has delicate or intricate design that requires care when removing them from the molds.
Pop out your lotion bars and store them in a cool dry place.
How To Use Lotion Bars
After you're done making your lotion bars and are completely harden then you can use them. When you're done showering or taking a bath, pat dry your skin with a towel. Rub your lotion bar on damp skin. This will lock in moisture and nourish your skin.
I hope you like this recipe and you gonna use it to improve and maintain your skin. Feel free to read other DIY skincare recipes and come back fore more when you need another one follow us on Pinterest for more recipes and skincare insights. See you soon!
About me
Hello, my dear gorgeous! Welcome to my blog and learn with me as you walk in your skincare journey. I'm skincare enthusiast and a student. I like sharing my passion of beauty and skincare with the world. I like blogging, reading and binge watching YouTube vlogs and Netflix during my leisure time.

